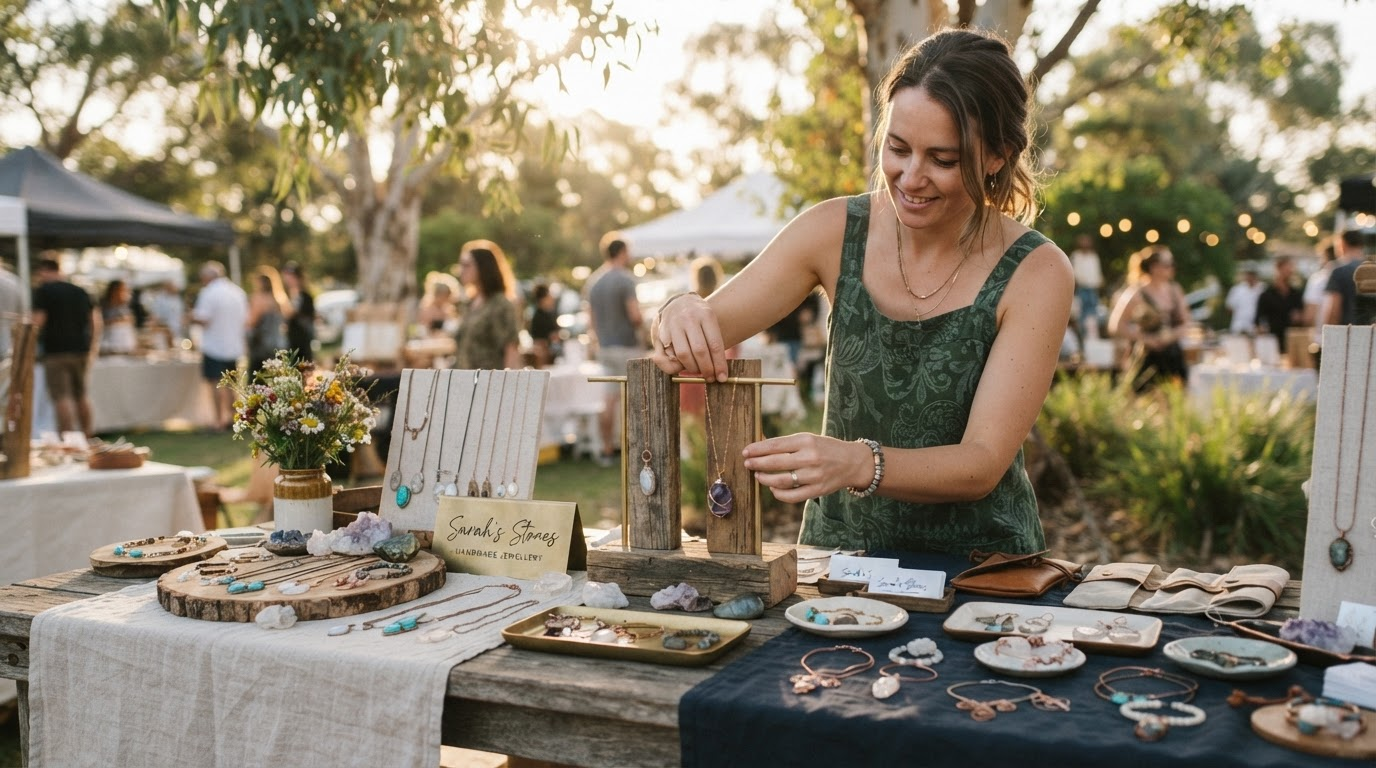
Perth Makers Market Stallholder Tips: A Warm Guide for WA Handmade Artists Ready to Launch
Perth Makers Market Stallholder Tips: A Warm Guide for WA Handmade Artists Ready to Launch Picture this: it's a balmy Saturday morning at Heathcote Applecros...
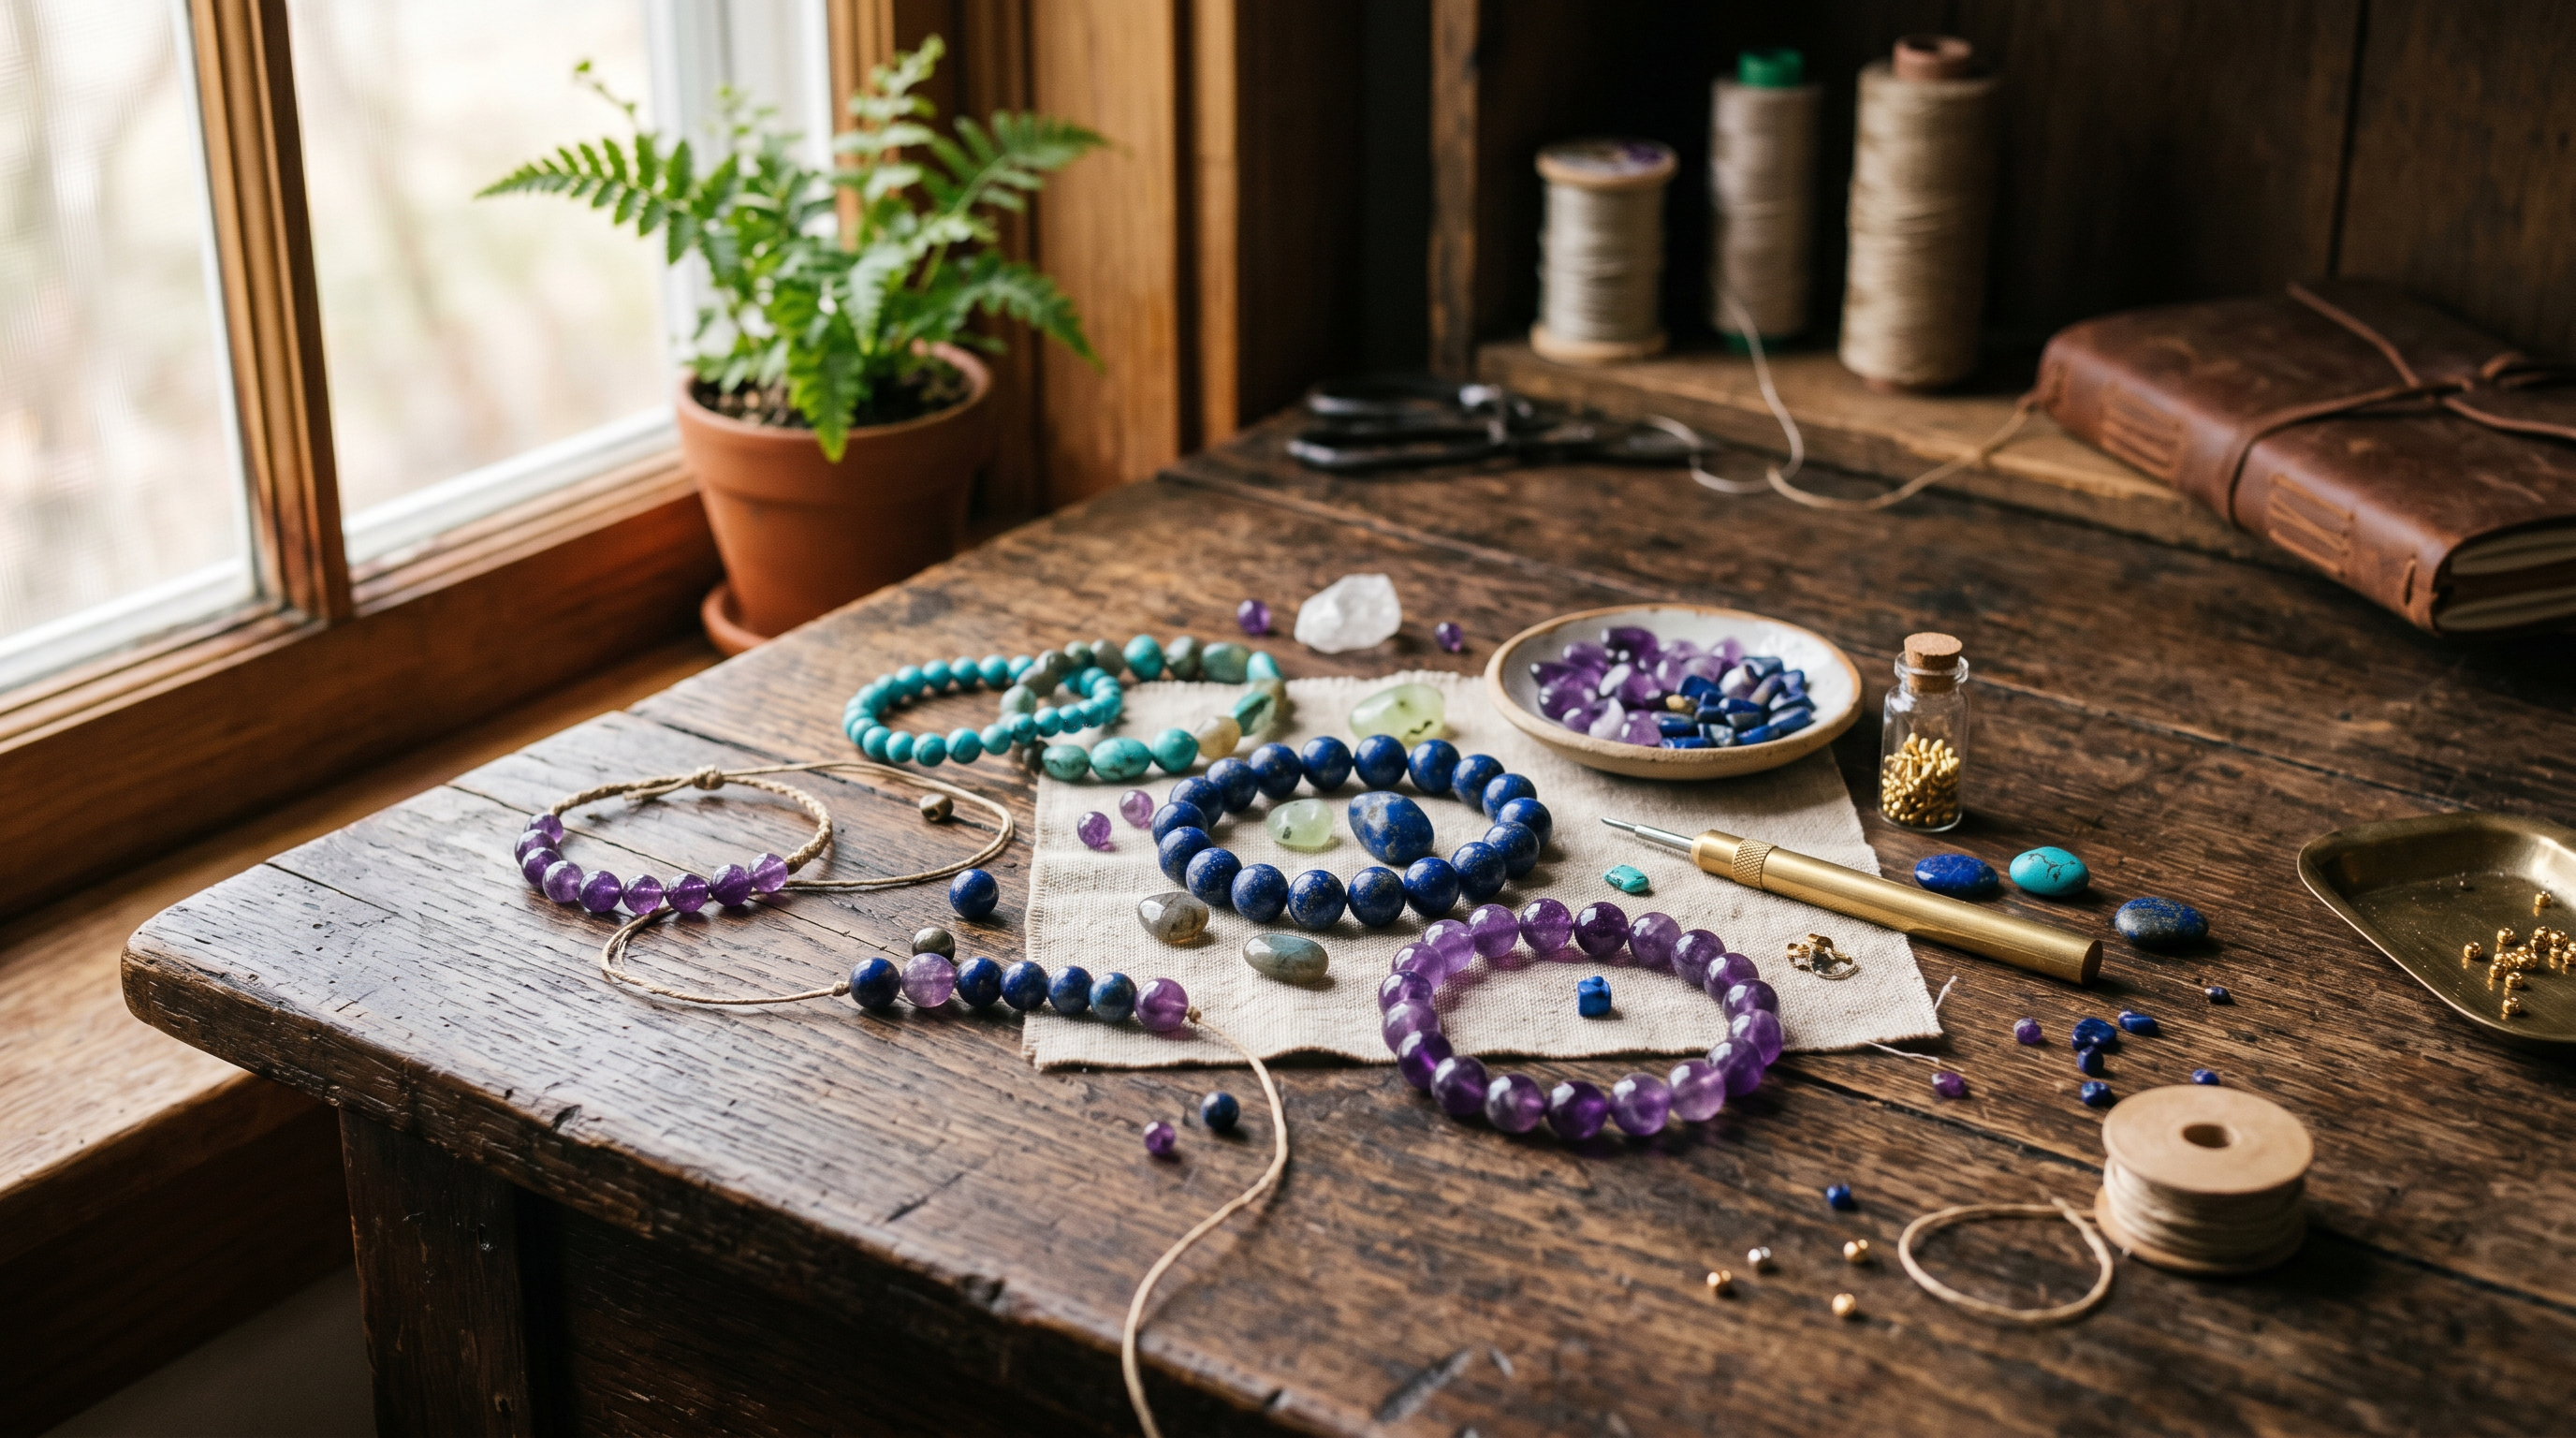
Hop on Route 45 from Bayswater Station to Galaxy Beads Bayswater: Your Guide to Gemstone Beads in Perth!
Hop on Route 45 from Bayswater Station to Galaxy Beads Bayswater: Your Guide to Gemstone Beads in Perth! Picture this: the sun glints off deep blue Lapis Laz...
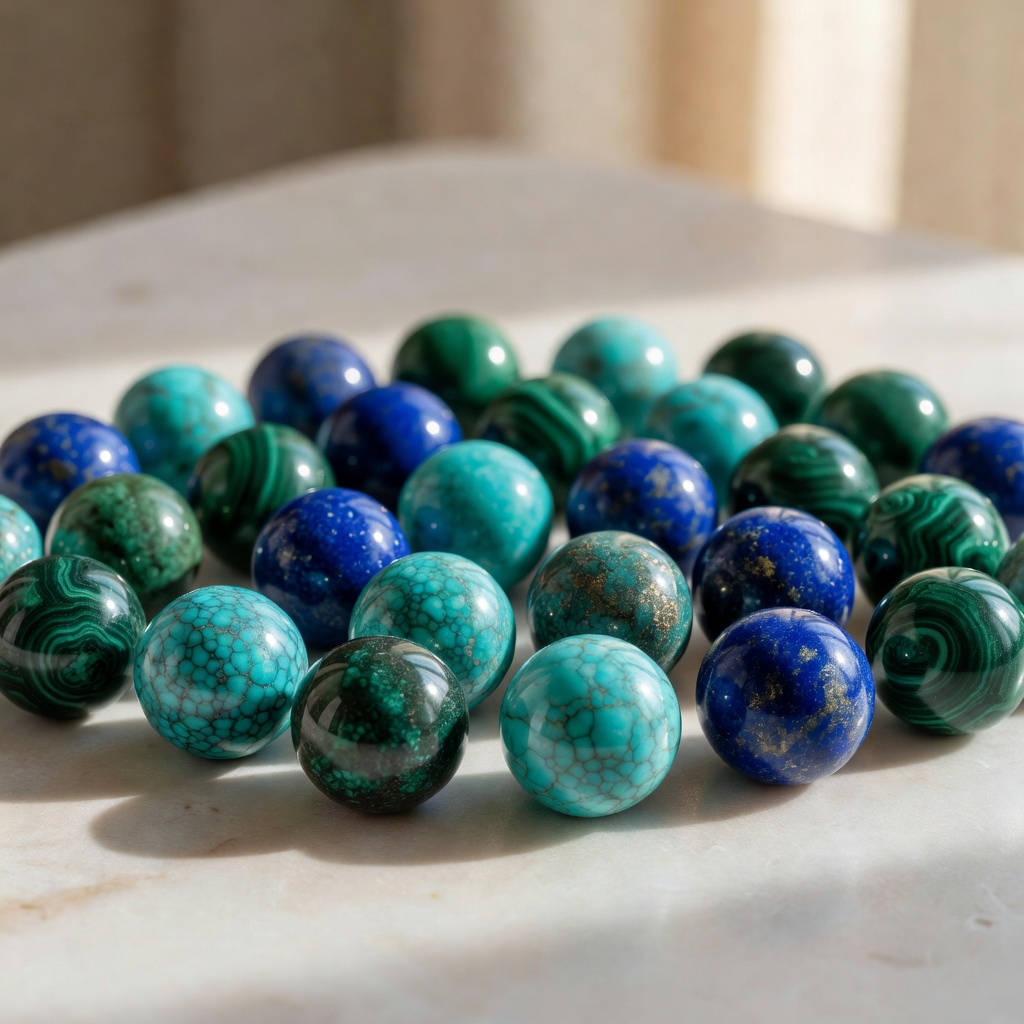
Natural Gemstone Care in Australia: Protecting Turquoise, Lapis Lazuli & Malachite from Sun and Salt Water
Natural Gemstone Care in Australia: Protecting Turquoise, Lapis Lazuli & Malachite from Sun and Salt WaterPicture this: a sun-drenched afternoon at Cotte...
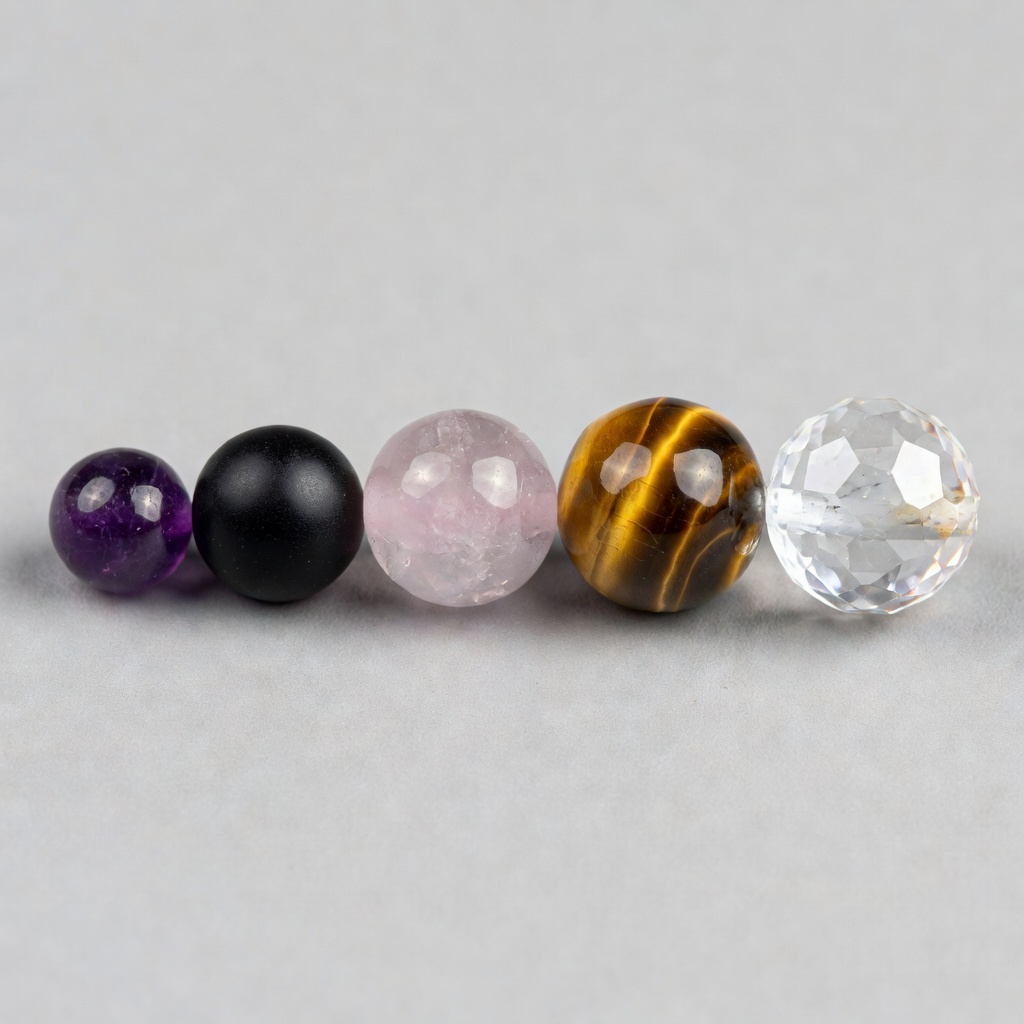
Ultimate Gemstone Bead Size Guide: 4mm, 6mm, 8mm & Beyond for Bracelets and Necklets | Galaxy Beads Australia
Ultimate Gemstone Bead Size Guide: 4mm, 6mm, 8mm & Beyond for Bracelets and Necklets | Galaxy Beads Australia Imagine slipping on a bracelet that drapes ...
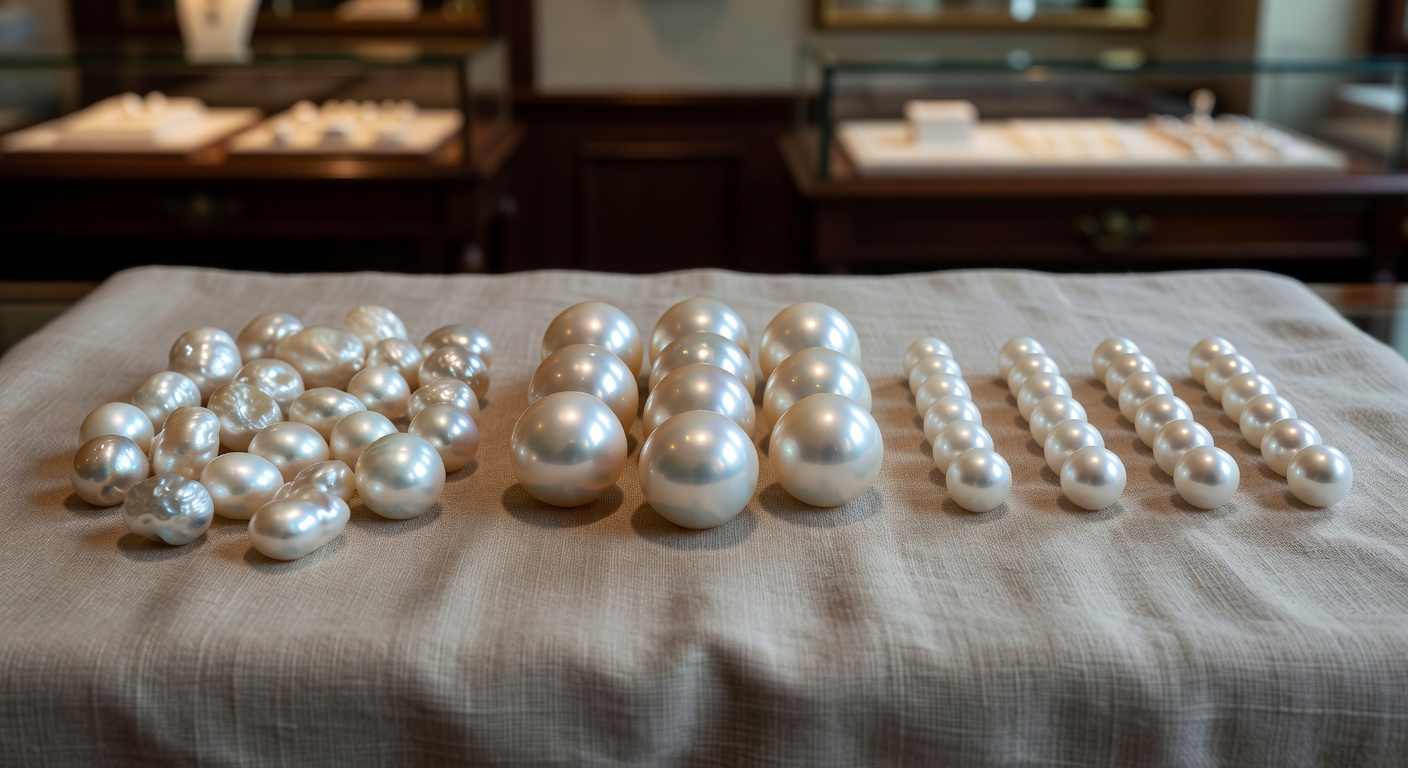
Pearl Beads Perth: Cultured vs Shell vs Freshwater Pearls – The Maker's Guide
Pearl Beads Perth: Cultured vs Shell vs Freshwater Pearls – The Maker's Guide Everyone knows Perth loves pearls, but you don't need a luxury retail budget to...
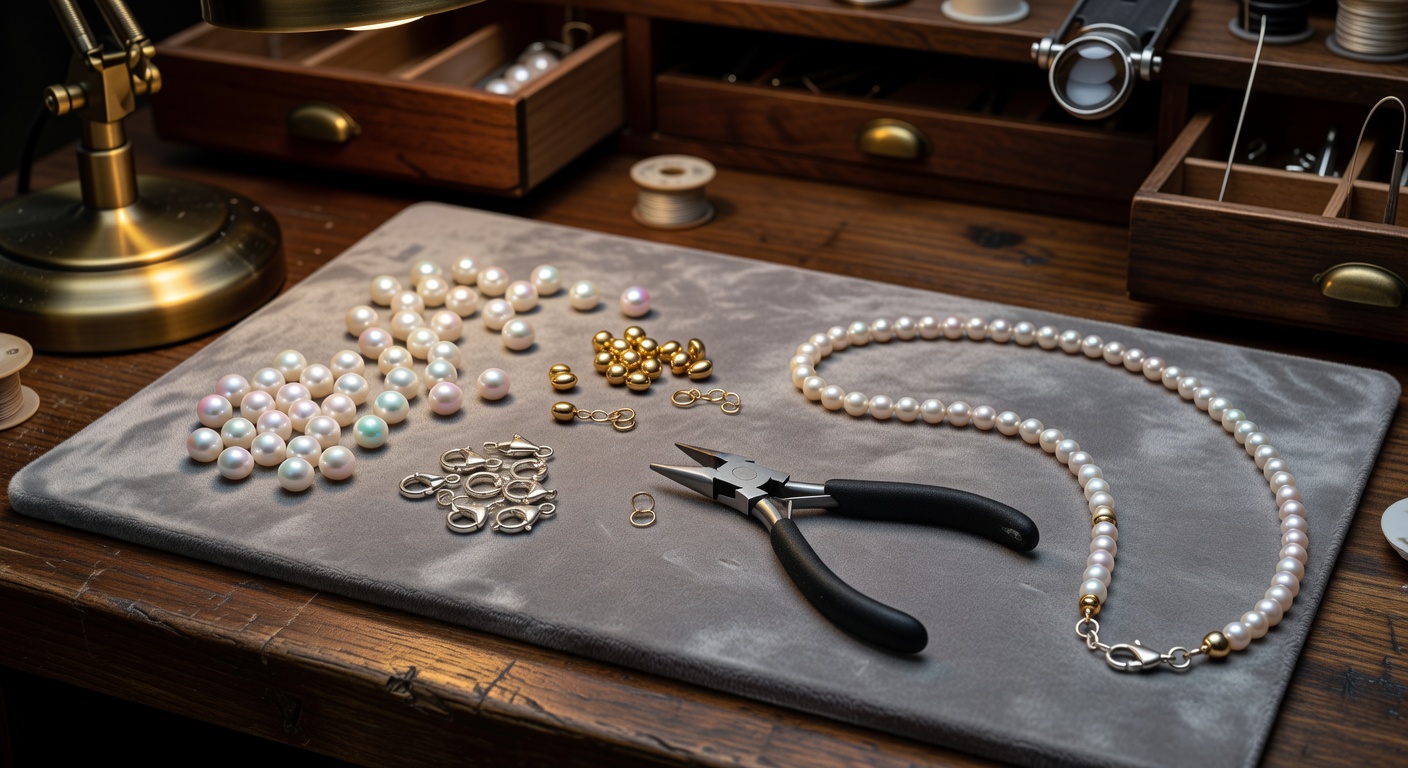
Skip the Retail Markup: DIY Luxury Pearl Jewellery at Home with Perth Findings
Skip the Retail Markup: DIY Luxury Pearl Jewellery at Home with Perth FindingsWalk past the premium showrooms in Perth's bustling jewellery precinct, and you...
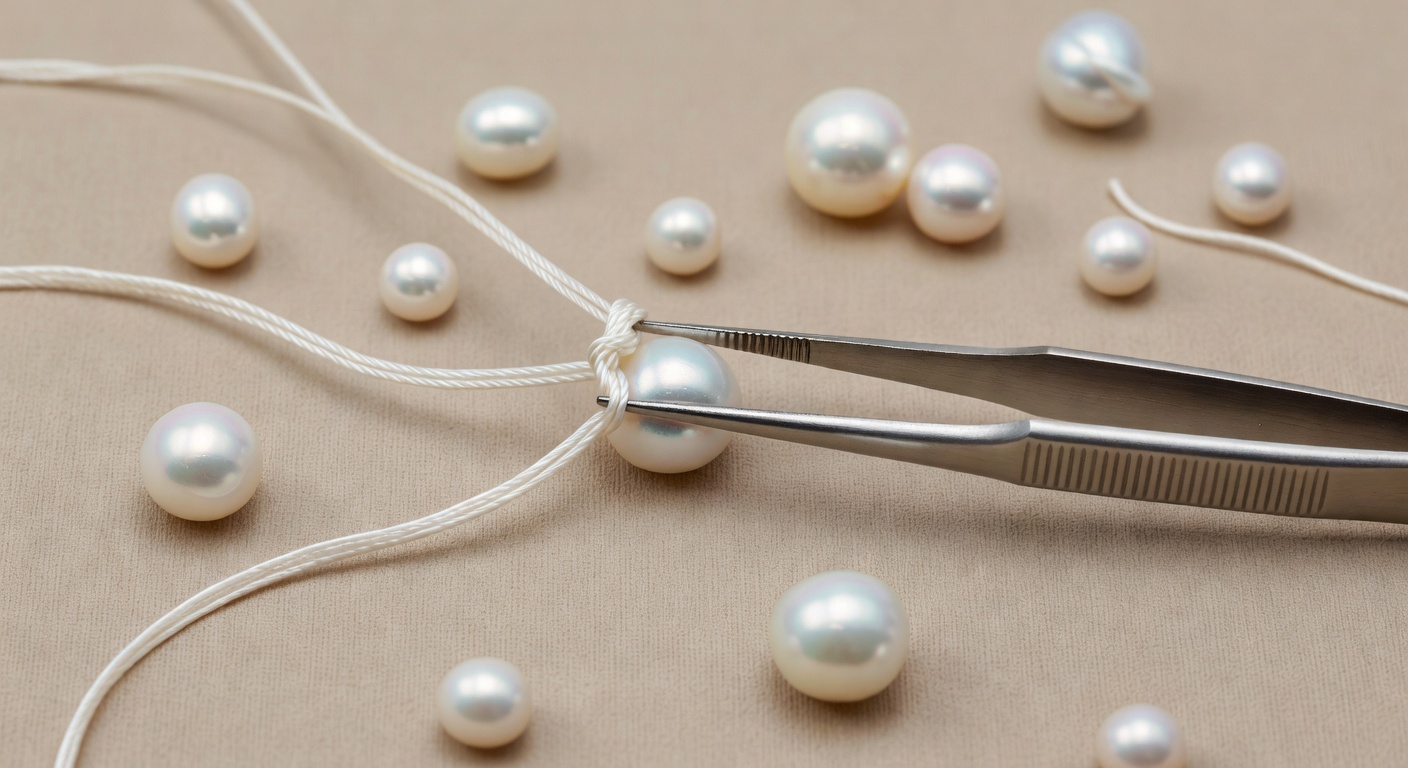
How to Knot Pearls Professionally: Step-by-Step Pearl Knotting Tutorial Perth
How to Knot Pearls Like a Professional: A Step-by-Step Guide Ever wondered why those exquisite pearl necklaces from high-end jewellers feature tiny, impeccab...
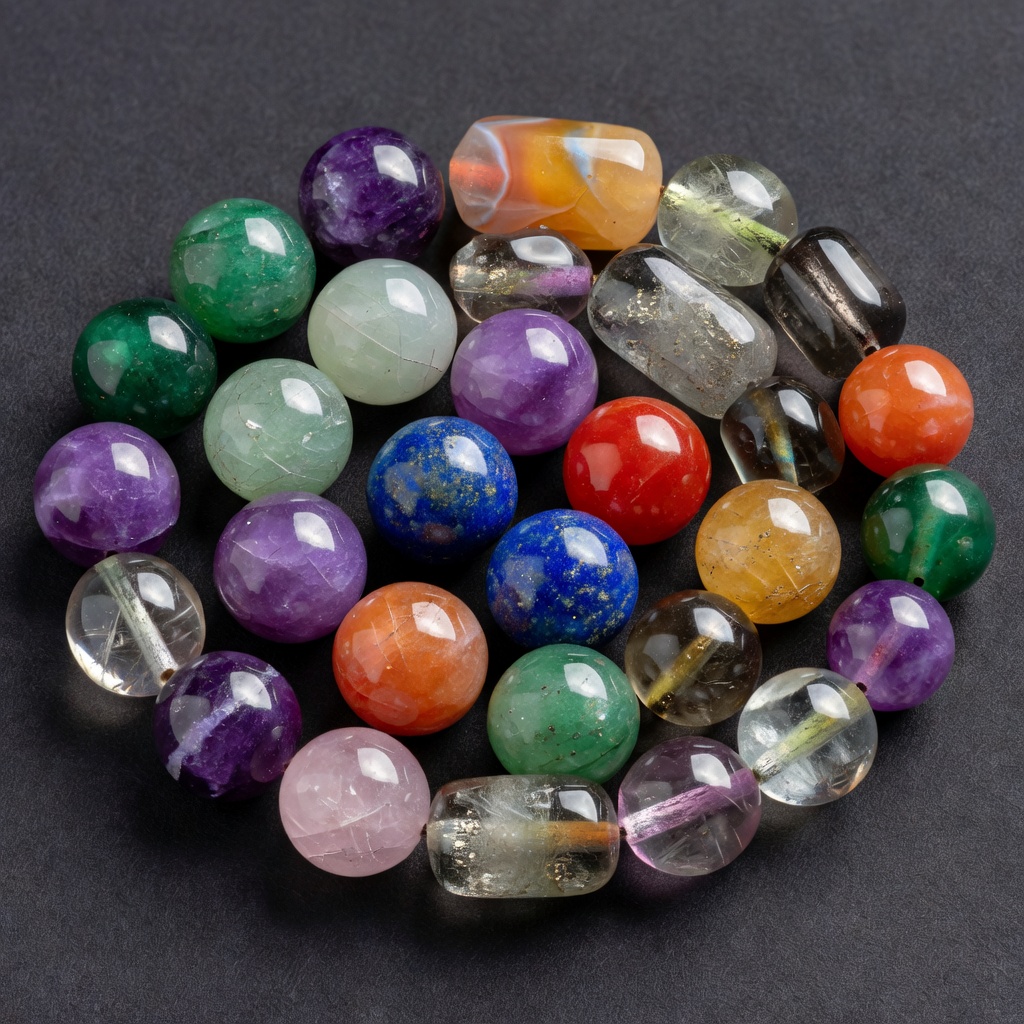
How to Identify Genuine Gemstone Beads in Australia: Real vs Synthetic Guide
How to Identify Genuine Gemstone Beads in Australia: Real vs Synthetic Guide Imagine slipping a strand of shimmering amethyst beads between your fingers, the...
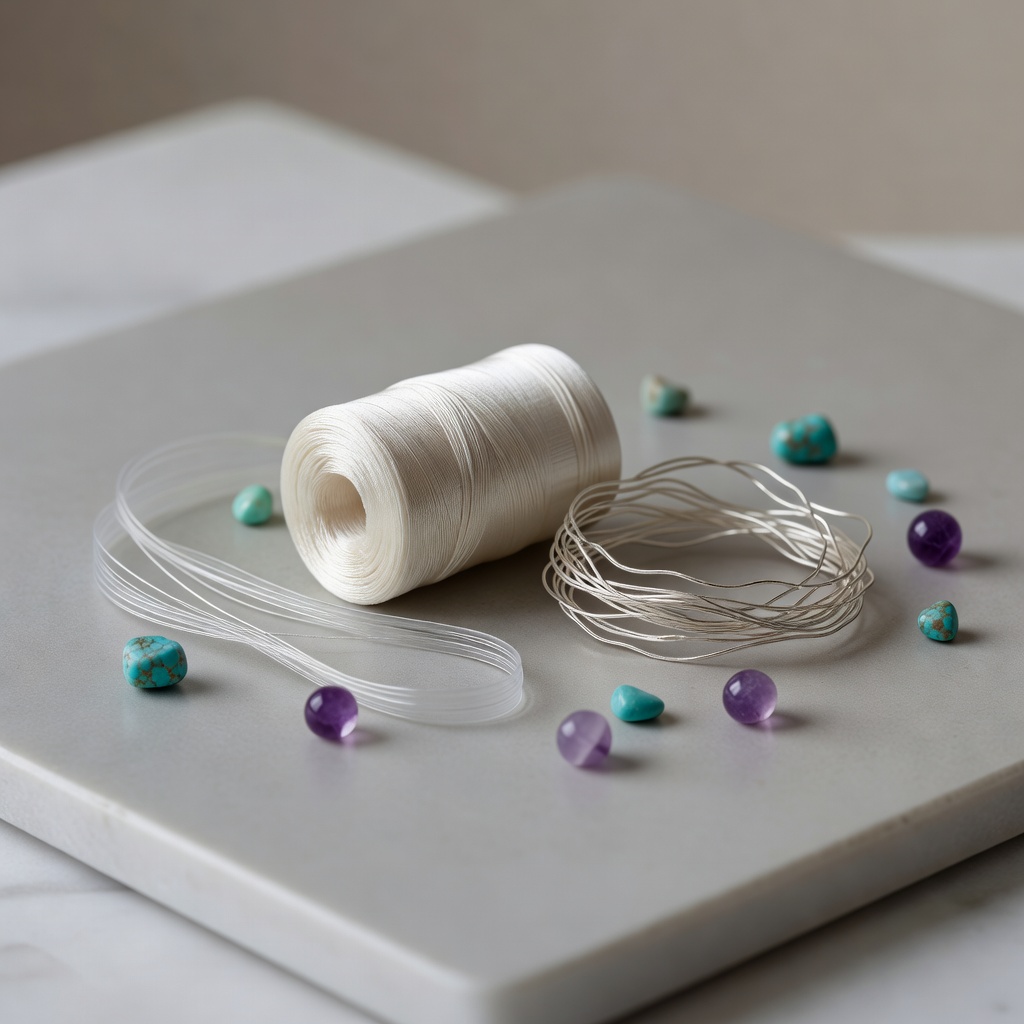
Gemstone Bead Stringing Guide: Jewellery Wire vs Elastic vs Silk for Long-Lasting Designs | Galaxy Beads
Gemstone Bead Stringing Guide: Jewellery Wire vs Elastic vs Silk for Long-Lasting Designs | Galaxy Beads Imagine slipping on your favourite gemstone necklace...
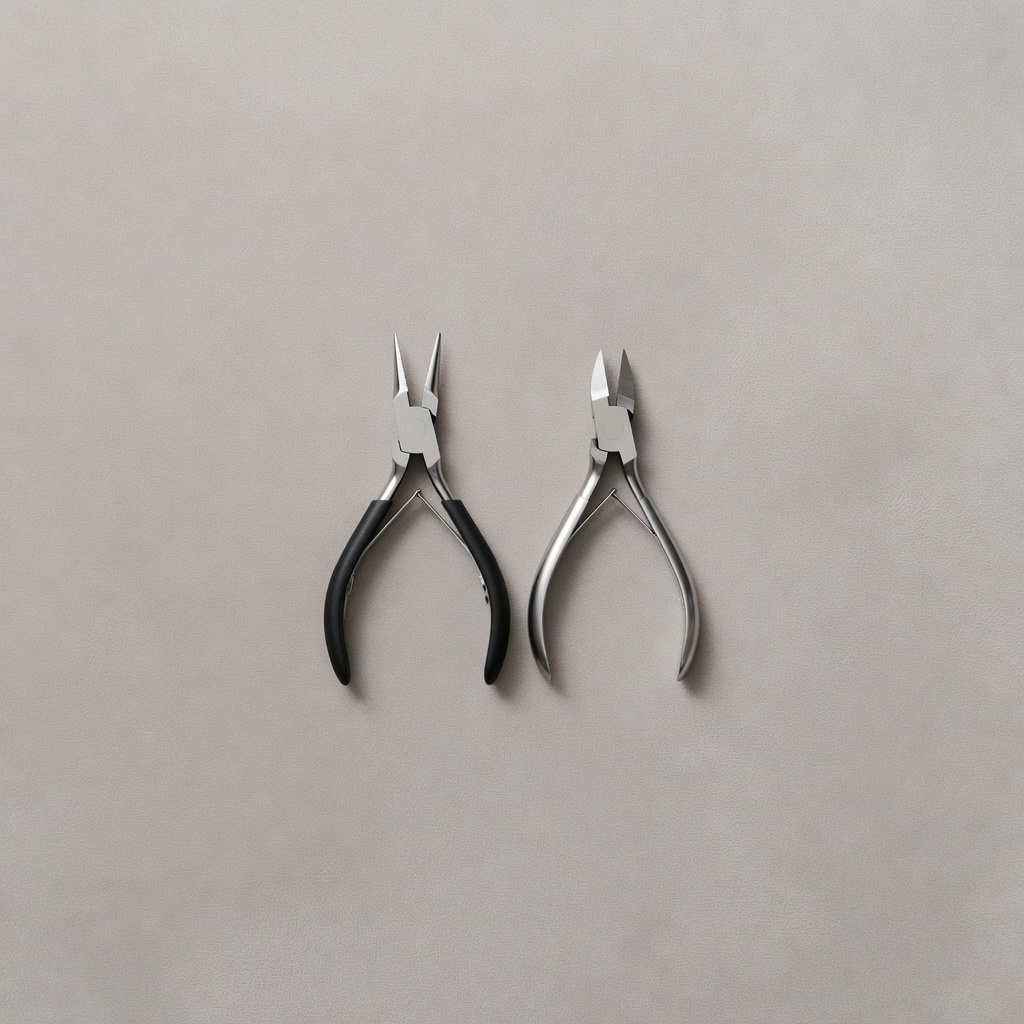
Jewellery Making Tools Perth: Minimalist Beginner Toolkit for Elegant Bead Crafting in Australia
Jewellery Making Tools Perth: Minimalist Beginner Toolkit for Elegant Bead Crafting in Australia Picture this: sunlight filtering through your Perth window, ...
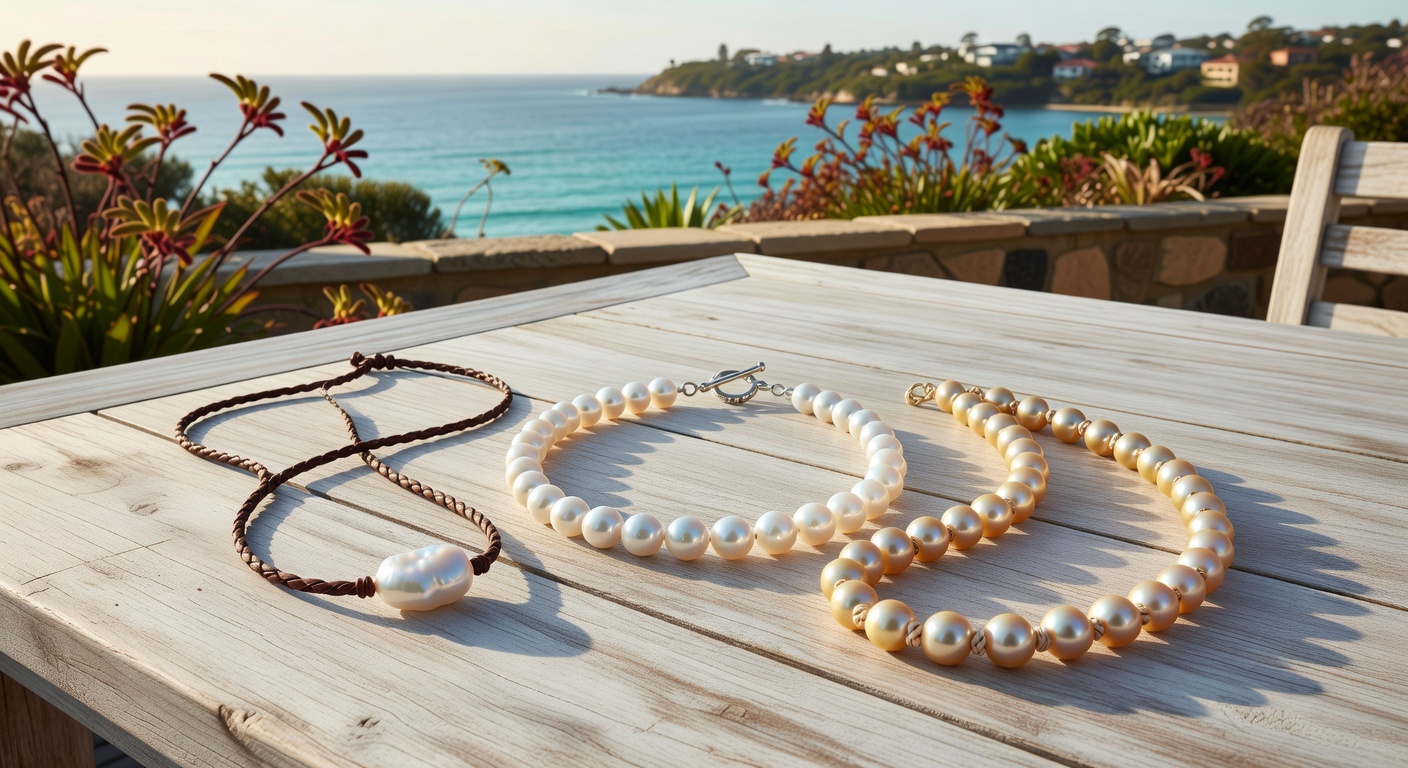
Coastal Jewellery Design Perth: Pearl Styles for Cottesloe Casual & WA Lifestyle
Coastal Jewellery Design Perth: Pearl Styles for Cottesloe Casual & WA Lifestyle Imagine sipping a chilled white wine as the sun dips low over Cottesloe ...
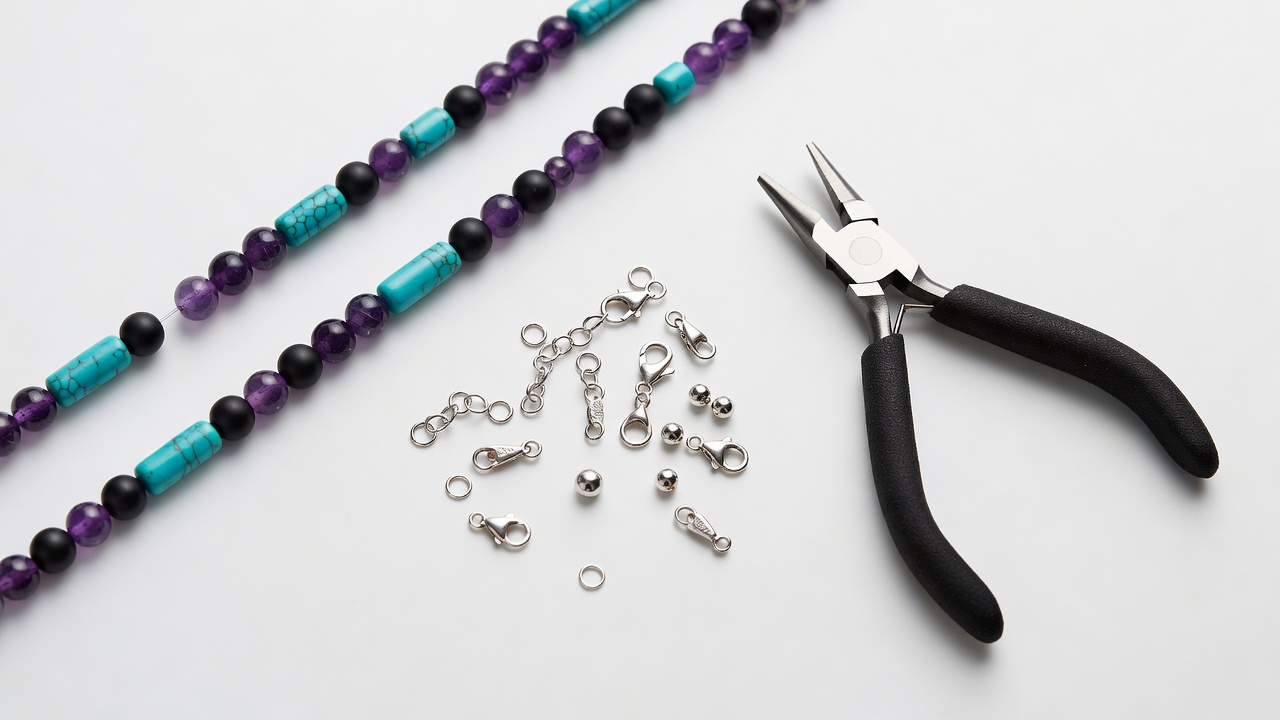
Jewellery Making Supplies Perth: Essential Bead Tools, Pliers, Findings & Threads for Beginners
Jewellery Making Supplies Perth: Essential Bead Tools, Pliers, Findings & Threads for BeginnersPicture this: your fingers dance with gemstone beads, thre...
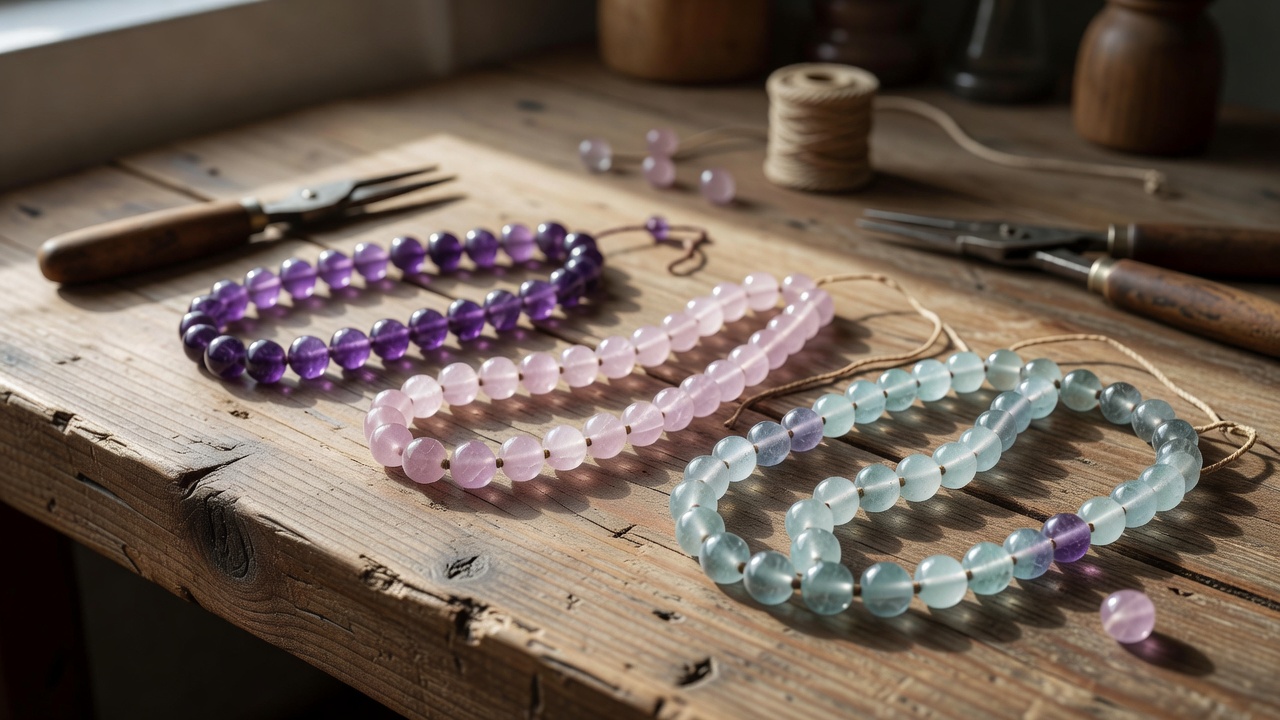
Gemstone Beads Perth: Feel the Natural Beauty of Gemstone Beads at Bayswater
Gemstone Beads Perth: Feel the Natural Beauty of Gemstone Beads at BayswaterPicture this. You are sitting at your workbench in Perth, sunlight streaming thro...
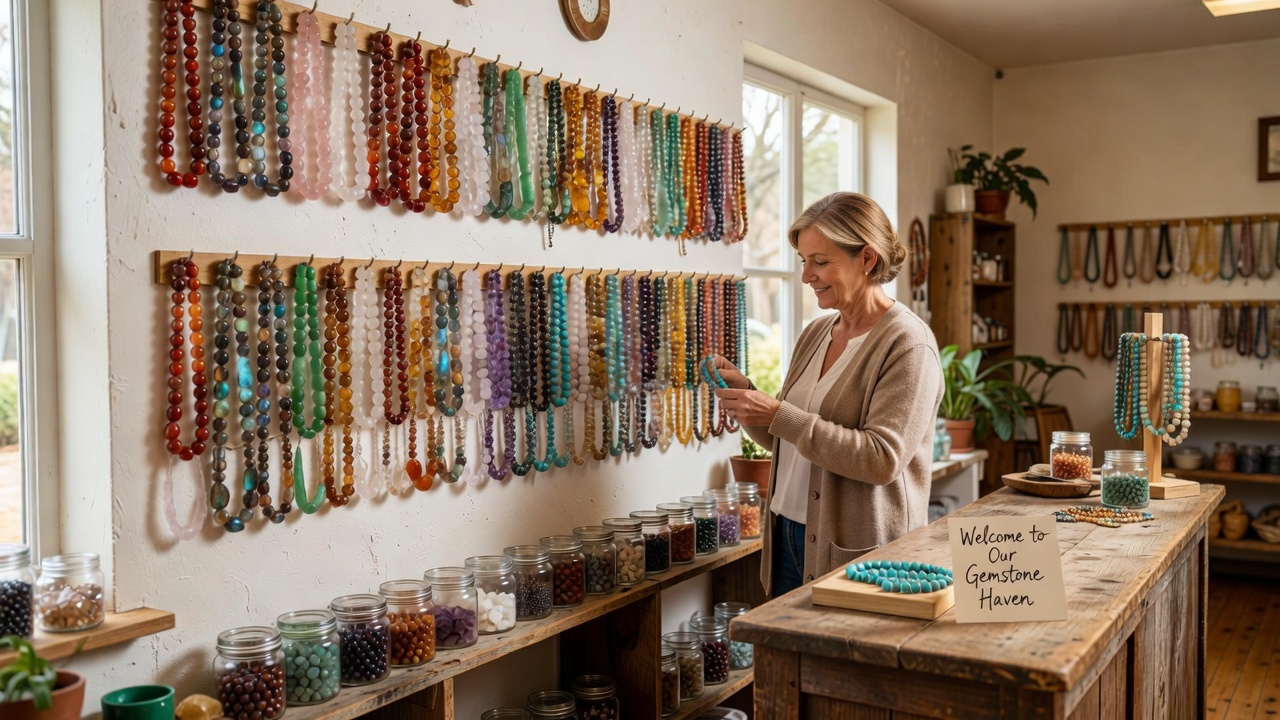
Feel the Sparkle: Sensory Bead Shopping at Galaxy Beads Bayswater, Perth
Feel the Sparkle: Sensory Bead Shopping at Galaxy Beads Bayswater, PerthPicture this. You step into a world where every surface hums with possibility. Your f...
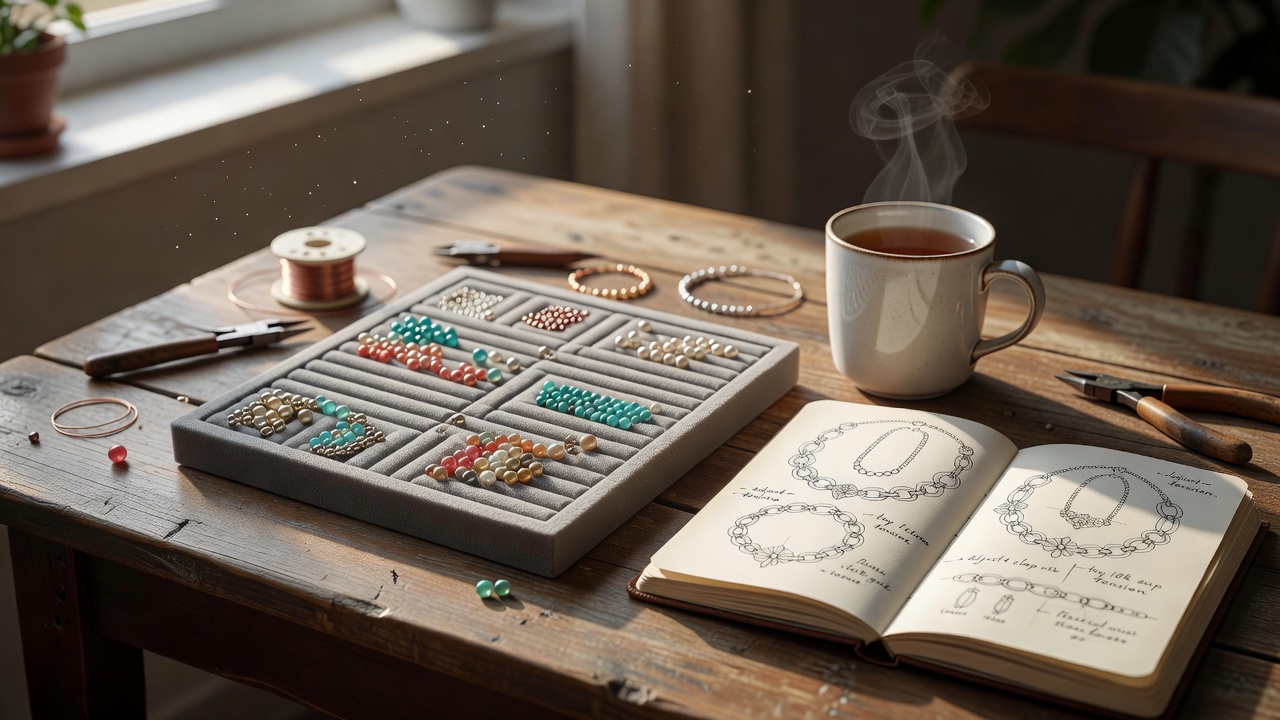
Visit Galaxy Beads: Bayswater Bead Shop for Perth Jewelry Making Supplies & Gemstone Beads – Wendy's Tips
Visit Galaxy Beads: Bayswater Bead Shop for Perth Jewelry Making Supplies & Gemstone Beads – Wendy's Tips Imagine stepping into a quiet corner of Bayswat...
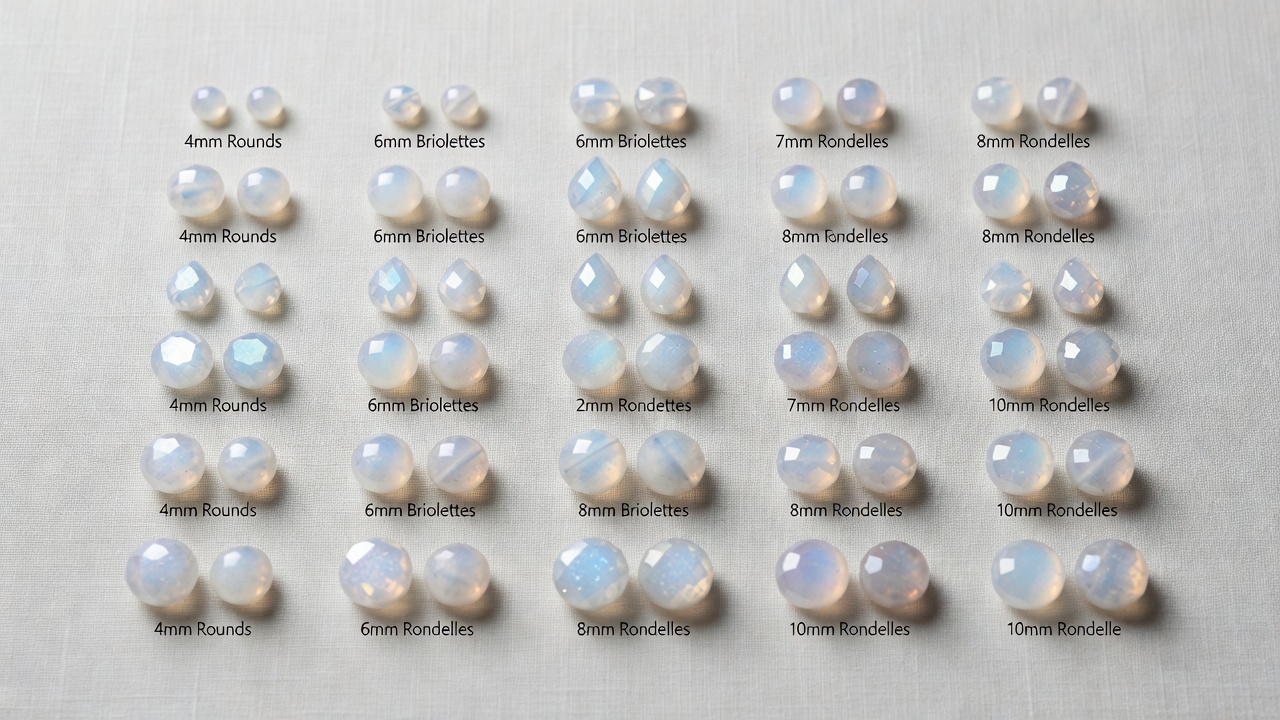
Bead Sizes Guide: 4mm to 12mm Gemstone Shapes and Finishes for Jewellery Making Beginners | Perth Bead Shop
Bead Sizes Guide: 4mm to 12mm Gemstone Shapes and Finishes for Jewellery Making Beginners | Perth Bead Shop Picture this: you sit at your crafting table in P...
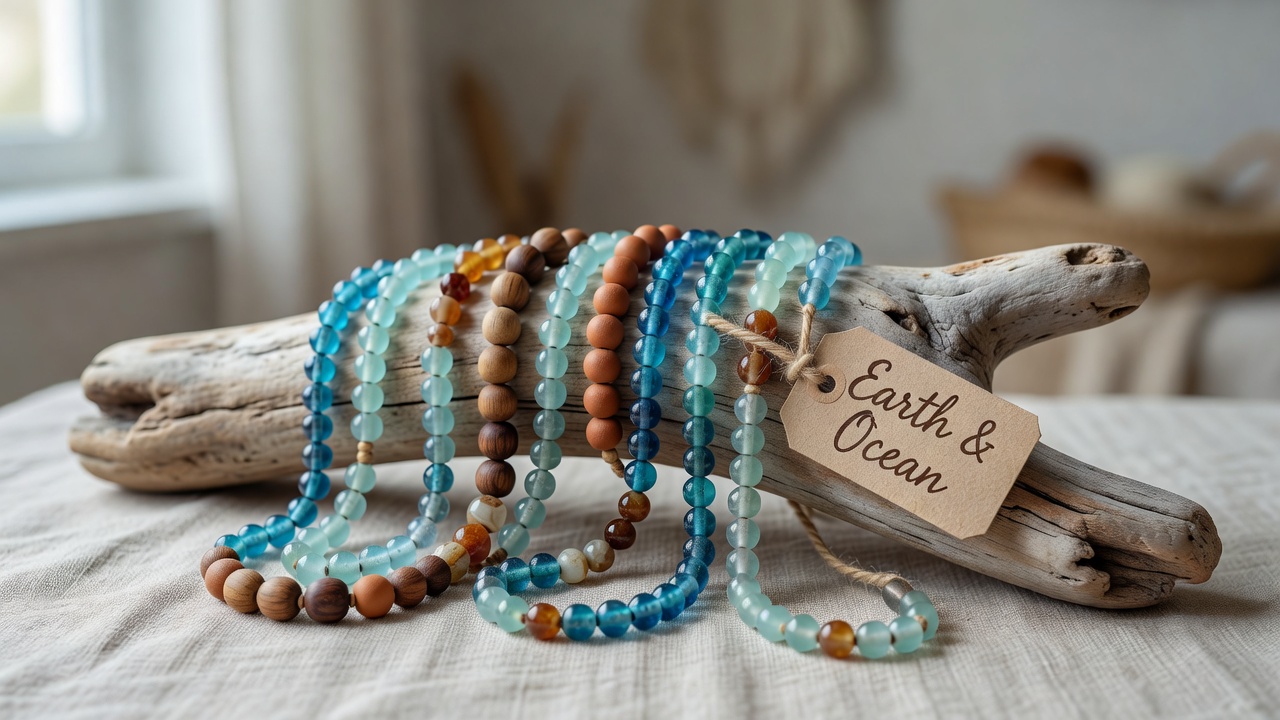
Bead Color Combinations from Nature: Earth & Ocean Palettes for Gemstone Jewelry
Bead Color Combinations from Nature: Earth & Ocean Palettes for Gemstone JewelryImagine standing at the edge of a rugged cliff, where the warm glow of su...
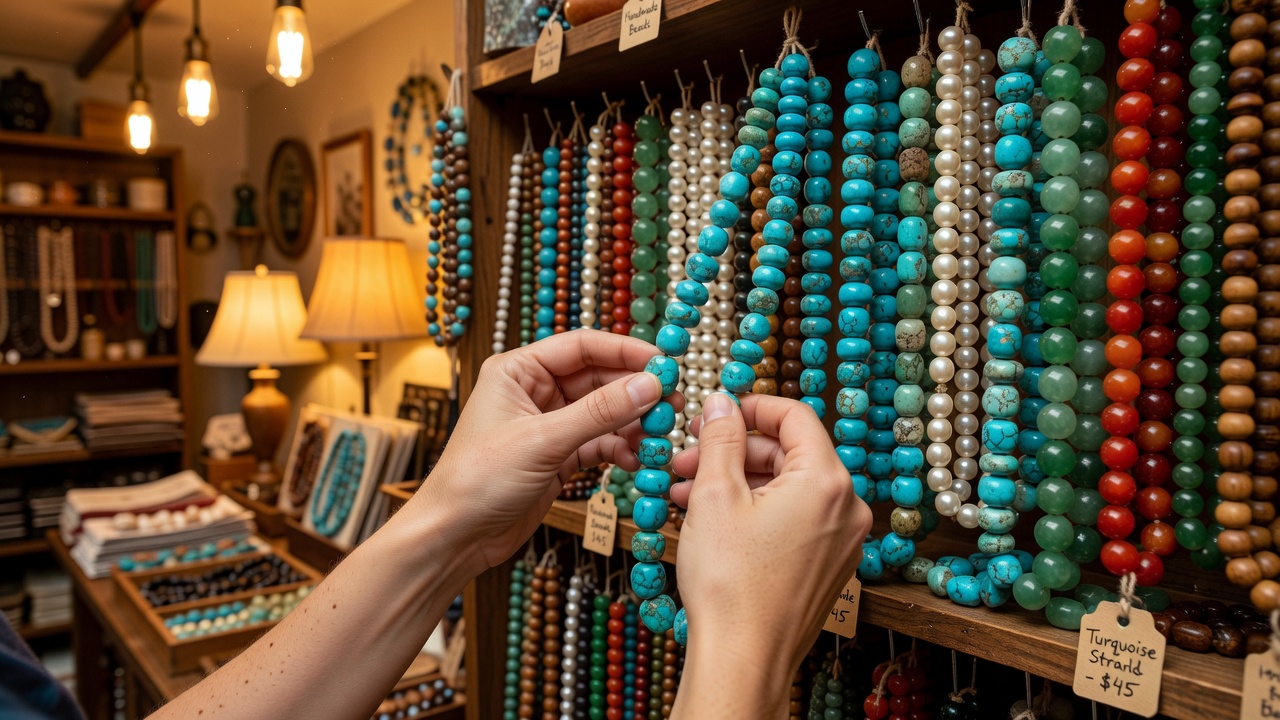
Hand-Curated Beads Perth: Why I Only Stock What I Love at Wendy Galaxy Beads
Hand-Curated Beads Perth: Why I Only Stock What I Love at Wendy Galaxy BeadsPicture this: a single strand of labradorite beads catching the light just so, fl...
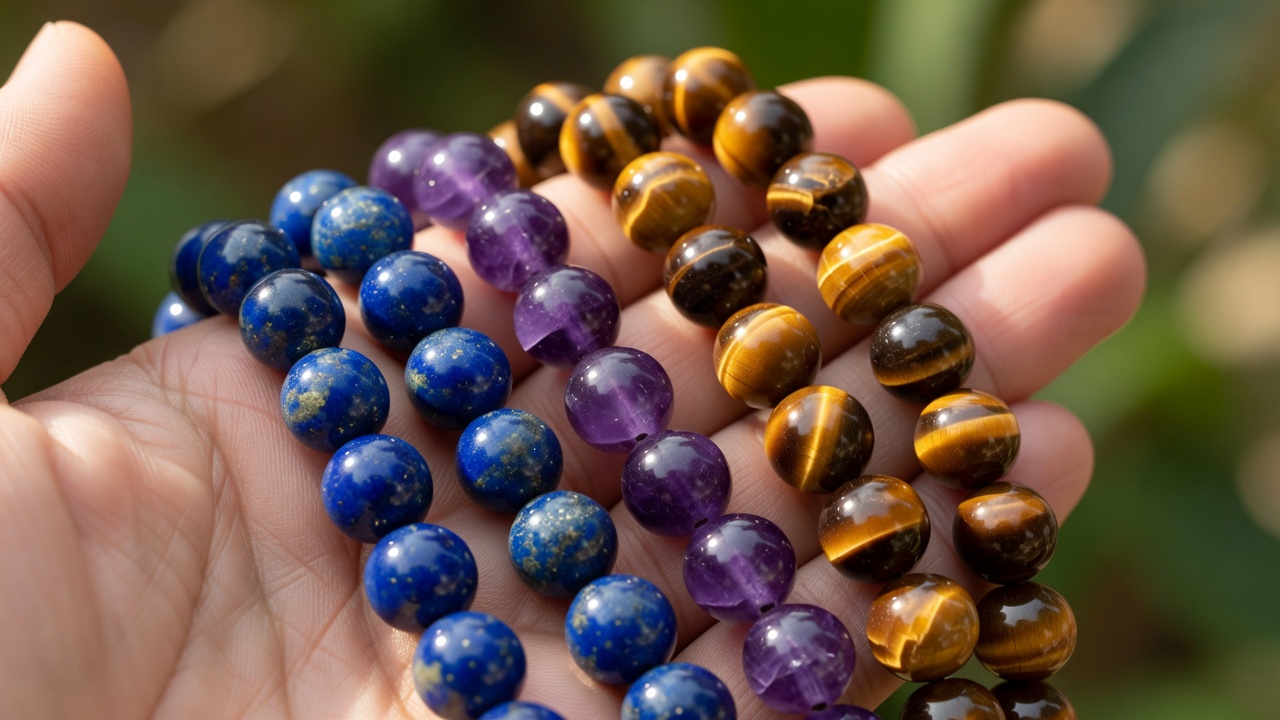
Discover Authentic Amethyst, Lapis Lazuli & Tiger Eye Beads: Wendy's Earth & Ocean Picks from Perth, Australia
Discover Authentic Amethyst, Lapis Lazuli & Tiger Eye Beads: Wendy's Earth & Ocean Picks from Perth, Australia Picture this: the sun dipping low over...